Here we refer to positioning, rotating, scaling, snap and movement of item(s) in your model.
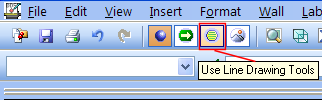
To have something to position the equipment towards, draw first a polyhedron (pentagon) Create a new DDS drawing. Select ”Tools for line drawing” and locate ”Polyhedron in one point” from the toolbox.
Tools for line drawing.
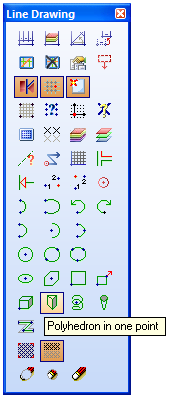
Polyhedron in one point.
The parameters for the polyhedron should be 4,5,5,1
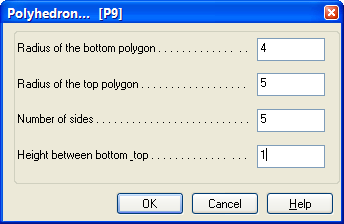
Enter values for polyhedron. Press OK, and position the object in the drawing.
This is what our polyhedron looks like.
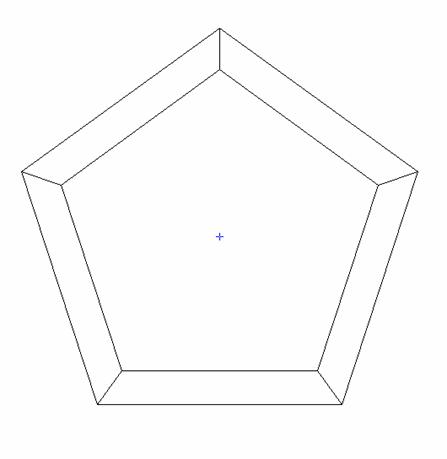
Polyhedron, with internal radius 4 meter, external radius 5 meter, number of sides 5,and column 5. This makes a pentagon..
The object to be positioned is a shower cabinet. Select first the tool ”Building”, and then ”Furnishing/Components” from the toolbox.
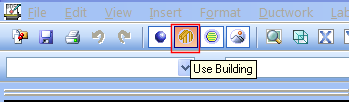
First the working mode ”Building”
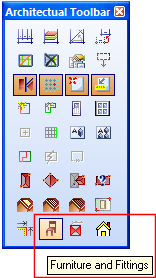
Select ”Furniture and Fittings” from the toolbox
The product database will now appear. On the left side, select Furnishing -> Kitchen-Bath-WC - > Shower. On the right side, select 050 Shower Cubicle Quadrant with Centre Opening
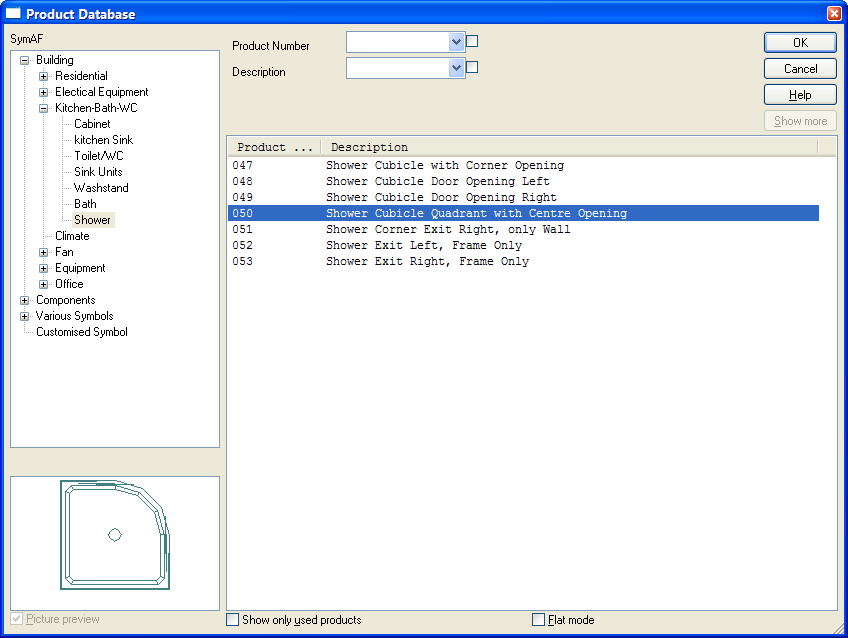
Product database - find Product database.. Find Shower Cubicle Quadrant with Centre Opening here.
The shower cabinet is a parametric symbol. Set assembly height to floor
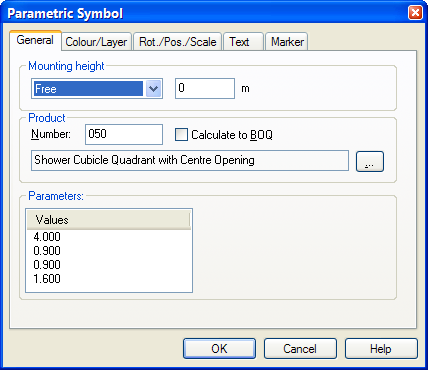
Mounting height is set to floor. For other mounting height, select Free from pull-down menu, and set the mounting height in the field to the right.
For free position of objects, move the cursor to the required position and press the left mouse button. DDS-CAD is now ready to position the same object continuously.
To rotate object, click the right mouse button while the object is dynamic on the cursor and select ”Rotate counter clockwise” or ”Rotate clockwise” from the pop-up menu. The shortcut key for this is to hold down the Ctrl + Shift key and press the left mouse button.
Rotate objects.
For each click the object will be rotated 90° . When the object has been rotated as required, let go of the Ctrl+Shift buttons and position the object with the left mouse button.
In some cases, a 90° interval will bee too much rotation. The interval can be adjusted. While the object is dynamic on the cursor, click the right mouse button to get the pop-up menu. Select ”Interval for rotation”
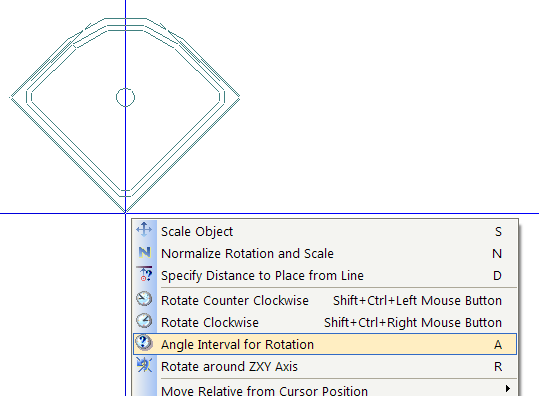
To adjust the rotation interval. You can also use the character A on your keyboard.
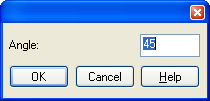
The rotation interval can be set to the required value. Press OK, and continue the rotation. Remember to press Ctrl+Shift first.
If you are to rotate the object according to a line of which you do not know the angle, ask DDS-CAD to help you find the correct rotation. Make sure you have saved Automatic Rotation from the toolbox.
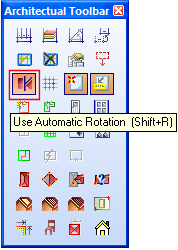
Automatic rotation is turned on/off from the toolbox.
The lines in the pentagon has not current angles. In order to rotate the shower cabinet in accordance with these,
hold down the Ctrl button on your keyboard, and move the cursor towards a line. When you get close enough, the line will be selected, and the object will rotate according to the angle of the line, at the same time as being snapped to the line.
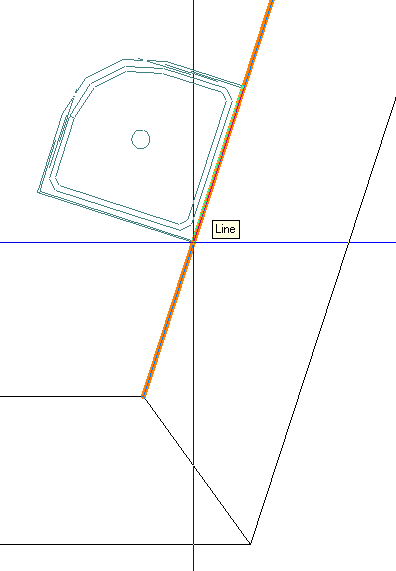
With Auto Rotation, the shower cabinet rotates automatically according to the angle of the line. Let go of the Ctrl key, and the rotation will persist.
With AutoRotation off, the same procedure will snap the object to the line, but not rotate.
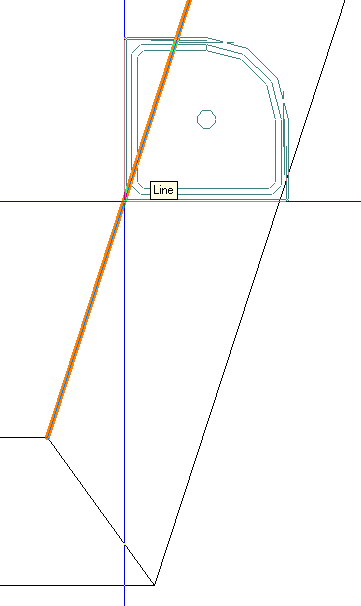
Snap to line without Auto Rotation active.
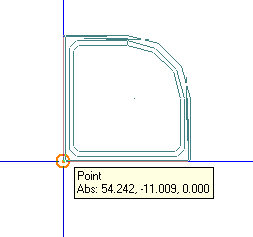
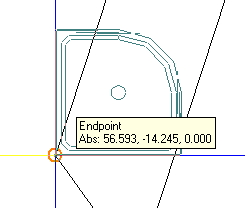
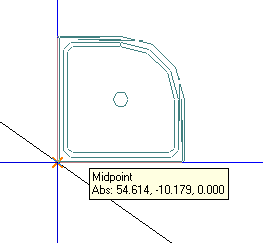
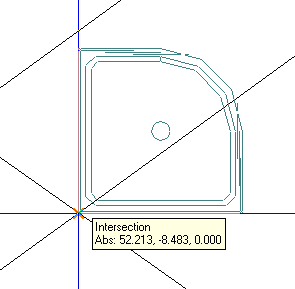
DDS-CAD can help you to snap the object to an existing point in the drawing. Objects that are recognized is a point, the end of a line, the middle of a line, intersection between two lines.
|
|
| Snap to point | Snap to end point. The end of a line. |
|
|
| Snap to the middle of a line | Snap to the intersection between two lines |
Automatic snap can be turned on/off in the toolbox. Always remember that snap will always be active if you hold down the Shift key, and it will always be off if you hold down the Alt key.
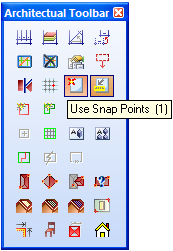
Automatic snap is turned on/off in the toolbox.
If a grid is defined in the drawing, this can be snapped to in the same manner as snap to known points.
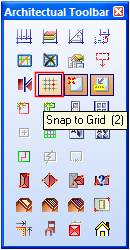
Snap to grid point can be turned on/off in the toolbox. See chapter 1 for definition of grid.
If the object is to be positioned in an entered distance from a line, you can either use Help geometry (see chapter 1), or Position with entered distance to line.
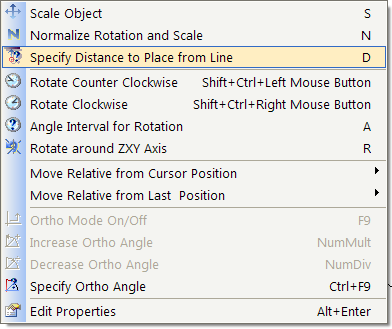
First you must enter the distance. While the object is dynamic on cursor, click the right mouse button to get the pop-up menu. Select ”Specify distance to placefrom line”
Distance from line to object.
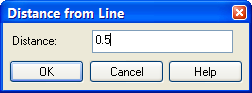
Distance is entered in meters.
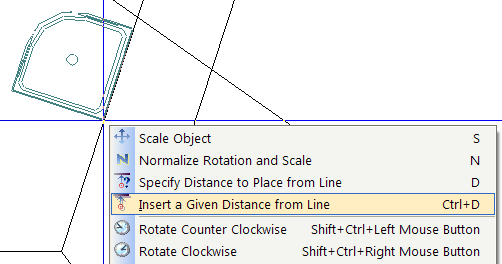
Hold down the Ctrl key. Move the cursor towards the line. When the line is selected, and the object snaps towards it, click the right button to get the pop-up menu. Then select ”Insert a Given Distance from Line”
Several types of objects are to be positioned from a line. This could be a radiator or WC. Enter the distance from the pop-up menu.
Objects may be positioned with entered distance from the existing point, both in the X and Y direction at the same time. To snap to a point temporarily, turn on Snap point from the toolbox, or hold down the Shift key.
Click the right button to get the pop-up menu. Select ”Move relative from snap point” -> ”Move relative or rotated”
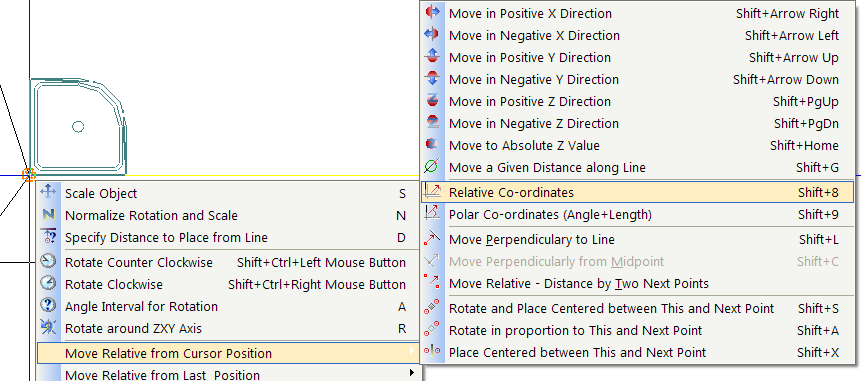
Position the object relative in both the X and Y direction from the snap point.
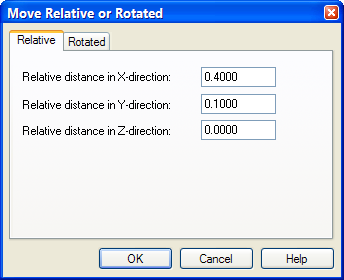
Enter the distance in meter. Both X, Y and Z distance can be entered. Press OK to get the new position.
Objects are often to be positioned in the centre point between two points. This could be the centre of a room, or in the centre of a ceiling board. DDS-CAD includes a function for doing this rapidly and precisely. While the object is dynamic on the cursor, and ”Use snap point” is active, this function can be executed by means of the pop-up menu, or with the quick edit command Shift+X. Lead the object towards one of the corners to activate the snap. Press Shift+X, then lead the element to the other corner and press the left mouse button. The video displays first how it is done from the pop-up menu, then with the Shift+X function.
If you have many objects to be positioned symmetrically, DDS-CAD has a separate function for this. You decide either how many objects you want to position, or let DDS-CAD find a number based on the distance between them. If you have defined a room DDS-CAD will use this as basis to calculate the positioning of the objects. If you have not defined a room, you can enter the diagonal points to get the same operation executed. Position the symbol symmetrically by means of the toolbox in the default tools.
See video without room definition
See video with room definition.
When objects have been positioned in the model, they can be moved and rotated by first selecting them and then give the command for moving. The following manners of moving an object are:
Get hold of the insertion point to detach it from its position and position where you want to move it.
After having selected the object, use the arrow keys on your keyboard to enter moving distance in meter.
The object can be rotated after having been selected.
Ortho method for rotating and moving can be turned on/off.
< Previous Chapter - Next Chapter >
